Kitchen Shears vs Kitchen Scissors: What’s the Real Difference
Kitchen Shears vs Kitchen Scissors is a question I hear all the time from home cooks who just want clear answers. I used to grab whatever pair of scissors sat in the junk drawer and wonder why cutting chicken felt so hard. Then I learned the real difference and never looked back. In this guide, Kitchen Shears vs Kitchen Scissors: What’s the Real Difference, I will walk you through everything in plain words so you can choose the right tool and use it with confidence.
I still remember the first time I tried to spatchcock a whole chicken with regular scissors. The blades bent a little. The handles pinched my fingers. Juice flew everywhere. I switched to a proper pair of kitchen shears the next week and the job took half the time. That small change made cooking feel easier and safer. You will get the same clarity here.

Heavy Duty Kitchen Shears & Seafood Scissors, Lifetime Replacement
- 2-piece set: 8" all-purpose shears with sheath plus 7" curved seafood scissors
- Sharp 3Cr13 stainless steel blades with soft-grip, ambidextrous handles
- Built-in fish scaler, nut cracker and bottle opener; dishwasher safe
As an Amazon Associate, I earn from qualifying purchases.
What Kitchen Shears and Kitchen Scissors Really Are
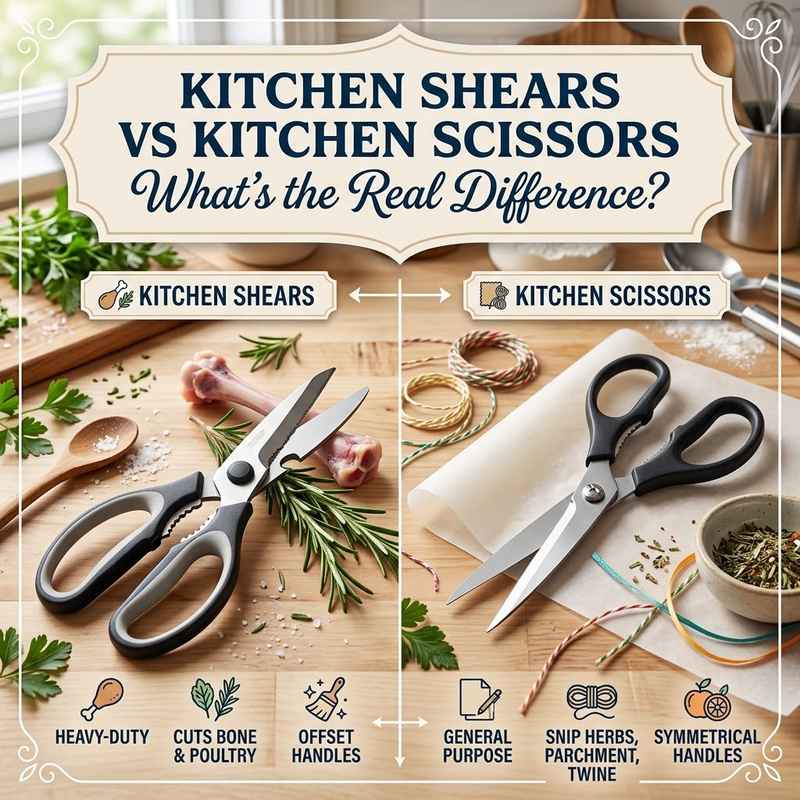
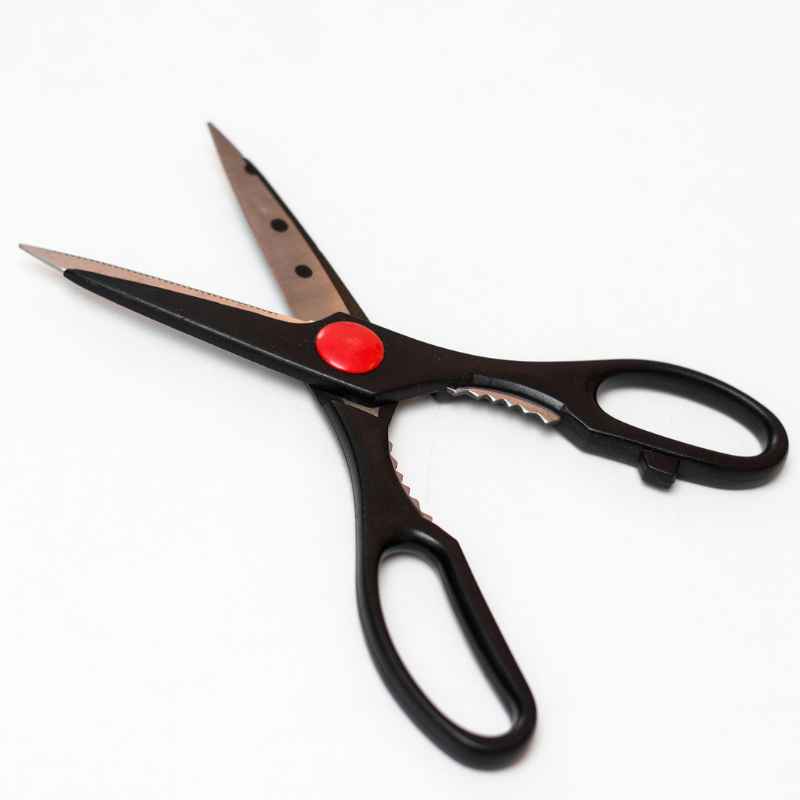
Kitchen shears are heavy-duty cutting tools built for food. They have thicker stainless-steel blades, often with tiny serrations that grip slippery ingredients. The handles are usually different sizes—one large loop for several fingers and a smaller one for the thumb. Many come apart for deep cleaning. Some even have extra tools like a bottle opener or nutcracker built into the handles.
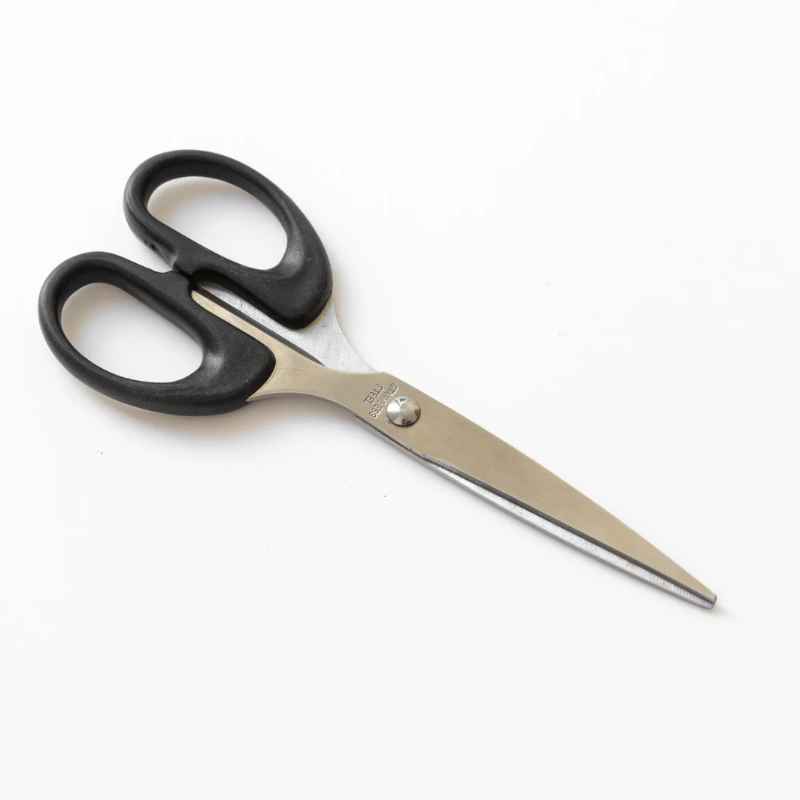
Kitchen scissors are lighter. They often look like regular household scissors but may be labeled for kitchen use. Their blades are thinner and usually smooth. Handles tend to be the same size on both sides. They work fine for soft jobs but struggle with tougher materials.
The names get mixed up a lot in stores and online. Some brands call strong shears “kitchen scissors.” The real difference shows up when you use them. One is made for power and food safety. The other is made for lighter, everyday snips.
Key Differences Side by Side
Here is a simple table that shows the main gaps.
| Feature | Kitchen Shears | Kitchen Scissors |
|---|---|---|
| Blade strength | Thick, strong, often micro-serrated | Thinner, smoother |
| Handle design | Asymmetrical, ergonomic grip | Usually symmetrical |
| Cleaning | Many take apart for thorough wash | Fixed blades, harder to clean fully |
| Best for | Poultry, bones, meat, tough veggies | Herbs, soft foods, packaging, paper |
| Extra features | Often bottle opener, bone notch | Rarely any |
| Price range (typical) | $15–$80 | $8–$25 |
This table helps you see why one tool wins for heavy jobs and the other works for quick light cuts.
Why the Design Matters in Real Cooking
Blade length and thickness change how much force you can apply. Kitchen shears put the pivot point in a spot that gives more leverage. You push less and still cut through a chicken joint. Regular kitchen scissors put more stress on your hand and the blades.
Serrations or micro-serrations on shears grab wet chicken skin or bacon so the food does not slide. Smooth blades on lighter scissors can slip and make uneven cuts.
Handles matter for comfort. After ten minutes of cutting herbs or trimming fat, a good ergonomic grip keeps your hand from getting tired. Cheap symmetrical handles dig into your palm.
Cleaning is a big safety point. After cutting raw chicken, leftover bits can hide in the pivot of fixed scissors. Take-apart kitchen shears open completely so you can wash every surface with hot soapy water. Food safety experts stress washing tools that touch raw meat thoroughly to stop bacteria from spreading. You can check clear advice on this from FoodSafety.gov and the USDA.
Practical Ways to Use Each Tool
I reach for kitchen shears almost every day. Here are common jobs they handle well:
- Spatchcocking chicken or turkey by cutting out the backbone
- Trimming fat from meat or removing silver skin
- Cutting pizza straight from the pan without crushing the crust
- Snipping bacon into even pieces while it is still cold
- Opening stubborn plastic packaging or thick bags
- Cutting soft bones in fish or small poultry joints
- Cracking nuts or opening bottles with the built-in tools
Kitchen scissors work better for lighter tasks:
- Snipping fresh herbs like chives or parsley right into a bowl
- Cutting kitchen twine or parchment paper
- Trimming green onions or soft vegetables
- Opening food packages that are not too tough
- Cutting soft fruits or cooked vegetables into bite sizes
A simple tip I learned the hard way: keep one pair for raw meat and another for ready-to-eat foods if you cook a lot. Cross-contamination is easy to avoid this way.
Easy Step-by-Step: How to Spatchcock a Chicken with Kitchen Shears
- Place the chicken breast-side down on a clean board.
- Use the tip of the shears to cut along one side of the backbone.
- Cut along the other side and remove the backbone.
- Flip the bird and press down firmly on the breast to flatten it.
- Season and cook as usual.
This method works because kitchen shears give the power and control that regular scissors lack. The whole process takes only a few minutes once you practice.
Benefits and Drawbacks
Kitchen shears save time and reduce the number of tools you need. One good pair can replace a knife for many jobs and keep your cutting board cleaner. They feel safer for some people because you control both blades with one hand.
The main drawback is cost if you buy a high-end pair. Cheap ones can still bend under pressure. Also, not every pair comes apart, so check before you buy.
Kitchen scissors cost less and take up little space. They feel familiar if you already use household scissors. The drawback is limited power and harder deep cleaning after raw meat.
Personal Tips from Years of Daily Use
I keep my shears in a drawer near the stove so they are always ready. After every use I rinse them, wash with hot soapy water, and dry them right away. Moisture left on stainless steel can still cause spots over time.
If the blades feel sticky, a drop of food-safe oil on the pivot helps. I never put non-take-apart shears in the dishwasher because the heat and detergent can dull them faster.
Common mistakes to avoid:
- Using regular household scissors on raw chicken
- Leaving shears wet in the sink
- Trying to cut frozen meat (thaw it first)
- Forcing dull blades instead of sharpening or replacing them
A sharp pair of kitchen shears lasts years. I have had the same take-apart model for a long time and it still cuts cleanly after simple care.
Cost-Saving Ideas and Buying Advice
You do not need the most expensive pair. Look for stainless steel blades, comfortable handles that fit your hand, and a take-apart design if possible. Many solid options cost between $15 and $30. Test the open-and-close action in the store if you can. The blades should meet evenly from the pivot to the tip.
For left-handed cooks, check that the shears work well in either hand or look for ambidextrous models. Some higher-end pairs have special left-handed versions.
Visual Ideas for Better Understanding
Imagine a side-view drawing of shears with longer handles and a lower pivot compared with regular scissors. Another helpful picture would show the blades separated for cleaning next to fixed scissors. A simple photo of shears cutting through a chicken joint versus scissors struggling with the same task would also make the difference clear. These visuals are not included here but help many readers see the points faster.
Frequently Asked Questions
Can I use regular scissors as kitchen shears?
You can for light jobs like opening bags or snipping herbs. For raw meat, bones, or tough vegetables, regular scissors lack the strength and are harder to clean safely. Switch to proper kitchen shears for those tasks.
How do I clean kitchen shears after cutting raw chicken?
Rinse off visible bits under running water. Wash with hot soapy water, paying attention to the pivot. If the shears come apart, separate them and clean each half. Dry completely before storing. For extra safety after raw poultry, some people follow basic sanitizing steps recommended by food safety sites.
Do kitchen shears need sharpening?
Yes, over time. Smooth-blade models can be sharpened with a knife sharpener or taken to a professional. Serrated blades are harder to sharpen at home. A good pair stays sharp longer with careful use and proper drying.
Are take-apart kitchen shears better?
For most home cooks, yes. They make thorough cleaning much easier and reduce the chance of leftover food bits. Fixed blades can still work if you clean carefully around the joint every time.
What size kitchen shears should I buy?
Most people do well with blades around 3 to 4 inches long and overall length of 8 to 10 inches. Larger hands may prefer bigger handles. Try them for comfort if possible.
Can kitchen shears cut pizza?
Yes, and many cooks prefer them. They cut through crust and toppings without dragging cheese the way a rolling cutter sometimes does. Just wipe the blades afterward.
Is there a difference between poultry shears and regular kitchen shears?
Poultry shears often have more curved or strongly serrated blades made for bones. Everyday kitchen shears handle both poultry and general tasks well. One versatile pair is enough for most home kitchens.
Final Thoughts
Kitchen Shears vs Kitchen Scissors comes down to purpose. Kitchen shears give you power, leverage, and easier cleaning for real food prep. Kitchen scissors handle lighter, everyday snips. Once you feel the difference on a whole chicken or a stack of herbs, the choice becomes clear.
Start with one solid pair of take-apart kitchen shears. Use them for the next few meals and notice how much simpler some jobs feel. Keep a lighter pair of scissors for the soft tasks if you like. Your hands, your board, and your dinner will all thank you.
Go try a simple spatchcock or just snip some herbs tonight. You will see why so many cooks keep these tools within easy reach. Happy cooking.