Meal Prep Lunches You’Ll Want To Make Every Week
Making delicious meal prep lunches doesn’t need to be hard. You can create satisfying and healthy meals that are easy to prepare. This guide offers simple ideas, smart tips, and practical steps to make your midday meal a highlight of your day.
What Are Meal Prep Lunches?
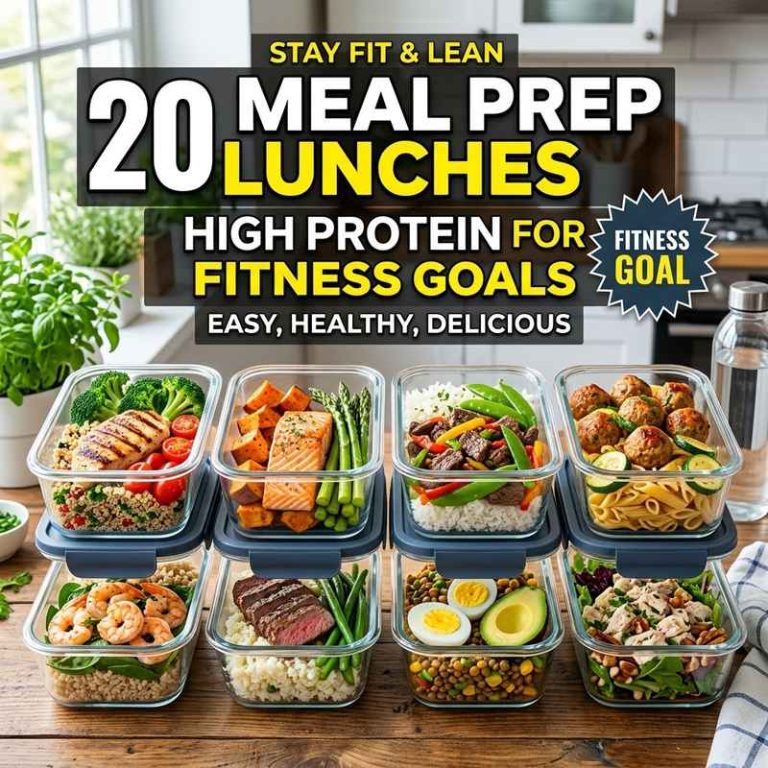
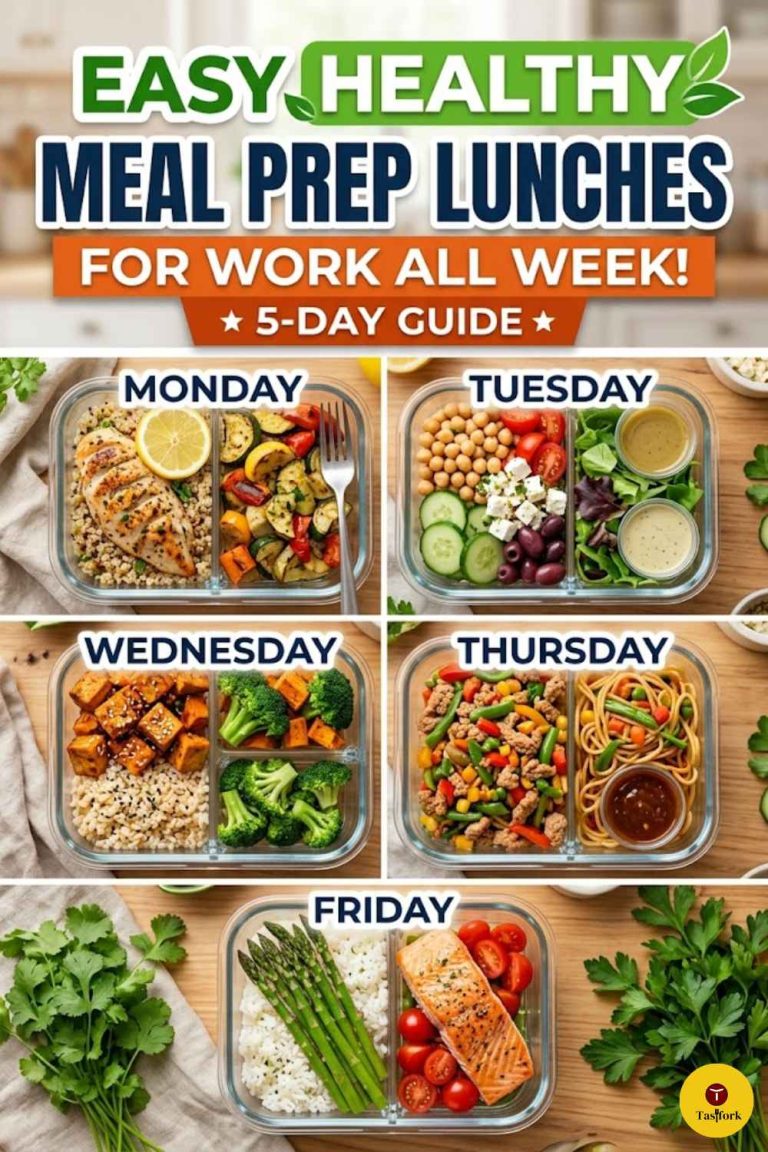
Meal prep lunches are meals you prepare ahead of time. You cook them in advance. Then you pack them for the week.
This saves time during busy workdays. It also helps you eat healthier. You control the ingredients.
It stops you from buying unhealthy lunches. It’s a smart way to eat well.
Why is this so popular now? Many people are busy. They want quick, healthy food.
Meal prepping helps them achieve this. It’s not just about saving time. It’s about taking control of your health.
You avoid last-minute bad choices. You feel more organized. It’s a small step that makes a big difference.
My First Meal Prep Disaster
I remember my very first attempt at meal prep. It was a Sunday evening. I had seen all these perfect photos online.
My kitchen was a mess. I had bought so many containers. I decided to make a big batch of chicken and rice.
I thought it would be simple. I was wrong. The chicken came out dry.
The rice was mushy. By Wednesday, I couldn’t even look at it. I ended up throwing it all away.
It was so frustrating. I felt like a failure. I almost gave up on meal prep completely.
That experience taught me a lot though. I learned that I needed simpler ideas. I needed recipes that tasted good for longer.
Most importantly, I learned to start small.
Quick Start Meal Prep Ideas
Goal: Make one simple lunch recipe for 3 days.
Recipe: Sheet pan sausage and peppers.
Steps: Chop sausage and peppers. Toss with olive oil and spices. Roast on a sheet pan.
Portion into containers.
Why it works: Easy to make. Flavors meld well. Holds up in the fridge.
The Core Idea: Simple & Delicious
The best meal prep lunches are those you actually want to eat. They shouldn’t taste like cardboard. They need to be satisfying.
They should taste good even after a few days. This means choosing the right foods. It also means thinking about how you store them.
Some foods are better for meal prep. They don’t get soggy. They don’t dry out easily.
Think about grains like quinoa or brown rice. They hold up well. Roasted vegetables are also great.
They keep their texture. Proteins like chicken breast, lean beef, or tofu are good choices. Just cook them right.
Avoid overcooking them. This is key for taste.
What about flavor? Spices are your best friend. Herbs can add freshness.
A simple sauce or dressing on the side can make a big difference. It keeps things from getting bland. Think about lemon juice.
Think about soy sauce. Or maybe a little bit of vinegar. These little things change everything.
Meal Prep Protein Powerhouses
Chicken Breast: Versatile and lean. Bake, grill, or stir-fry. Cut into cubes or strips.
Ground Turkey/Beef: Great for bowls or pasta sauces. Brown it with spices.
Tofu/Tempeh: Excellent plant-based options. Marinate and bake or pan-fry.
Lentils/Beans: Hearty and full of fiber. Add to salads or stews.
Eggs: Hard-boiled eggs are a simple, quick protein snack or addition.
Building Your Perfect Lunch Bowl
Lunch bowls are a meal prep favorite. They are easy to customize. They pack well.
And they are usually very filling. Think of a base, a protein, some veggies, and a sauce.
Your base can be grains. Brown rice is a good choice. Quinoa is even better.
It has more protein. Couscous is fast to make. You could also use farro.
Or even a mix of grains.
Next, add your protein. This could be the chicken, turkey, or tofu. Make sure it’s cooked well.
Don’t let it get dry. Cut it into bite-sized pieces. This makes it easy to eat.
Now for the veggies. Roasted veggies are perfect. Think broccoli, sweet potatoes, bell peppers, or Brussels sprouts.
You can also add raw veggies. Shredded carrots or chopped cucumbers work well. Spinach or kale can be added raw too.
They wilt a little but are still tasty.
Finally, the sauce or dressing. This is what ties it all together. A simple vinaigrette is great.
Peanut sauce is also popular. Tahini dressing is creamy and good. Keep the dressing separate if you worry about sogginess.
Put it in a small container on the side.
Pasta Salads That Won’t Get Gloopy
Pasta salad might seem tricky for meal prep. It can turn into a sad, sticky mess. But it doesn’t have to.
The trick is to cook the pasta right. And to choose the right ingredients.
Cook your pasta al dente. This means it’s still a little firm. It will absorb dressing over time.
If you overcook it, it gets mushy. Use sturdy pasta shapes. Rotini, farfalle (bowties), or penne work well.
Add ingredients that hold up. Roasted vegetables are good. Sun-dried tomatoes add a lot of flavor.
Olives and artichoke hearts are also great. For protein, consider chickpeas or cannellini beans. Small cubes of cheese can work too.
When you dress the pasta salad, do it just before packing. Or a few hours before. If you make it the night before, the pasta might get too soft.
Some people like to keep the dressing separate. Then they toss it all together right before eating. This keeps the pasta firmer.
Pasta Salad Dos and Don’ts
Do: Cook pasta al dente. Use sturdy shapes. Add sturdy veggies like broccoli or bell peppers.
Use beans or chicken for protein. Dress shortly before packing or eating.
Don’t: Overcook pasta. Use delicate greens that wilt fast. Add creamy dressings too early.
Expect it to taste “freshly made” after 3 days.
Sheet Pan Meals: Minimal Cleanup, Max Flavor
Sheet pan meals are a weeknight lifesaver. They are also perfect for meal prep. You chop everything up.
Toss it with oil and spices. Then roast it all on one pan. Less cleanup means more free time.
Choose a protein and lots of veggies. Chicken sausage and bell peppers are classic. Salmon and asparagus roast quickly.
Chicken breast and broccoli work well. Even tofu and root vegetables are great. The key is to cut everything into similar sizes.
This ensures even cooking.
Use a good quality olive oil. Don’t be shy with the spices. Paprika, garlic powder, onion powder, and Italian herbs are always winners.
Salt and pepper are essential. You can also add a touch of heat with red pepper flakes.
Roast at a high temperature. Around 400°F (200°C) is usually good. This helps everything get a nice sear.
It also cooks faster. Keep an eye on it. Some veggies cook faster than others.
You might need to add some later.
Once cooked, let it cool. Then portion it into your containers. This is a complete meal.
It’s simple and satisfying. You can add a grain like rice or quinoa if you want more carbs. Or just enjoy it as is.
Sheet Pan Meal Combinations
Fajita Night: Chicken strips, bell peppers, onions, taco seasoning.
Mediterranean Delight: Salmon, broccoli florets, cherry tomatoes, lemon slices, herbs.
Sausage & Veggies: Italian sausage, bell peppers, onions, zucchini, Italian seasoning.
Tofu & Root Veggies: Cubed tofu, sweet potatoes, Brussels sprouts, maple syrup, soy sauce.
Soups and Stews: Comfort in a Container
Soups and stews are ideal for meal prep. They often taste better the next day. Flavors meld together.
They are warm and comforting. They also reheat well.
When making soup for lunches, think about thickness. A broth-heavy soup might not be as filling. Add hearty vegetables.
Add beans or lentils. Add a grain like barley or pasta. This makes it a complete meal.
Stews are naturally hearty. Think beef stew or lentil stew. They are packed with protein and fiber.
They are very satisfying. You can add potatoes, carrots, and celery. These hold up well in cooking.
When you portion your soup or stew, let it cool completely. This is important for food safety. It also helps prevent condensation.
Too much moisture in your container can make things soggy. Use good quality containers that seal well.
To reheat, you can use a microwave. Or you can use a stovetop. If you have a large batch, a slow cooker can keep it warm at work.
Just be careful with that. Ensure it’s safe and stable.
Sandwiches and Wraps: Beyond the Basic
Sandwiches and wraps are classic lunch options. But they can get boring. And they can get soggy.
The key is smart packing.
For sandwiches, use sturdy bread. Whole wheat or sourdough works well. Avoid soft white bread if possible.
Toasting the bread can help create a barrier. It stops fillings from making it wet.
Layer your fillings wisely. Put your protein and cheese down first. Then add your veggies.
Put your wet ingredients like tomato slices between drier layers. Use lettuce leaves as a barrier. They can soak up some moisture.
Keep condiments separate. Mayonnaise, mustard, or dressings can make the bread soggy. Pack them in a tiny separate container.
Or spread them thinly on a drier ingredient. A smear of hummus on the bread can also help.
Wraps are similar. Use a sturdy tortilla. Don’t overfill them.
This makes them hard to close. And they can split. Add your fillings in layers.
Again, keep wet ingredients away from the tortilla itself. Consider using a thin layer of cream cheese or refried beans as a moisture barrier.
Wrap Filling Ideas
Chicken Caesar: Grilled chicken, romaine lettuce, Parmesan cheese, Caesar dressing (on the side).
Hummus & Veggie: Hummus, shredded carrots, cucumber sticks, bell pepper strips, spinach.
Turkey & Swiss: Sliced turkey, Swiss cheese, lettuce, tomato, mustard (on the side).
Black Bean & Corn: Black beans, corn, salsa, avocado (add just before eating if possible), lettuce.
Salads That Stay Fresh and Tasty
Salads are healthy, but they can be the first to wilt. The secret to a great meal prep salad is layering. And keeping wet ingredients separate.
Start with your dressing at the bottom of the container. This is the key. Then add your hardiest ingredients.
Things like chickpeas, black beans, or cooked grains. These won’t get soggy from the dressing.
Next, add your protein. Chicken, tuna, or hard-boiled eggs work well. Then add firmer vegetables like bell peppers, cucumbers, or carrots.
These can sit in the dressing a bit longer without getting too soft.
Your leafy greens go on top. Spinach, romaine, or kale are good choices. They will be the freshest when you eat.
Add lighter items like avocado or nuts last. They can get mushy or stale if prepped too early.
When you’re ready to eat, just shake your container. Or pour the salad into a bowl. Everything will be mixed.
And your greens will be crisp.
Salad Layering Order
- Dressing
- Hearty Veggies & Grains (beans, corn, quinoa)
- Protein (chicken, eggs, tofu)
- Softer Veggies (peppers, cucumbers)
- Leafy Greens (spinach, romaine)
- Toppings (nuts, seeds, avocado – add just before eating if possible)
Choosing the Right Containers
Good containers make meal prep easier. They keep food fresh. They prevent leaks.
And they are safe for reheating.
Glass containers are excellent. They are durable. They don’t stain or absorb odors.
They are safe to use in the microwave and oven. Some have snap-on lids that seal well.
Plastic containers are also popular. Look for BPA-free options. They are lighter than glass.
They are also less likely to break. Some have compartments. This is great for keeping different food items separate.
Consider portion sizes. Choose containers that fit your needs. If you’re trying to lose weight, smaller containers might help.
If you need a big lunch, get larger ones.
For dressings or sauces, small reusable containers are handy. They are leak-proof. They keep your main meal from getting soggy.
Little jelly jars can also work well for this.
Make-Ahead Breakfasts for Busy Mornings
While we are talking about lunches, let’s not forget breakfast. A good breakfast sets the tone for the day. And it’s another meal that can be prepped.
Overnight oats are a fantastic option. You mix oats, milk (or non-dairy alternative), and toppings in a jar. You let it sit in the fridge overnight.
It’s ready to eat cold in the morning. Add fruit or nuts for extra flavor and nutrients.
Egg muffins or frittatas are also great. Whisk eggs with veggies, cheese, and meat. Pour into muffin tins.
Bake until set. These are like mini omelets you can grab and go.
Baked oatmeal is another good choice. It’s like a hearty breakfast bar. You can slice it and eat it cold.
Or warm it up quickly.
Breakfast Prep Tips
Overnight Oats: Use rolled oats for best texture. Add chia seeds for thickness and fiber.
Egg Muffins: Don’t overbake them, or they can get rubbery.
Baked Oatmeal: Add dried fruit like cranberries or raisins for sweetness.
Snack Prep: The Unsung Hero
Healthy snacks can make or break your day. They keep you from crashing between meals. They also stop you from reaching for unhealthy treats.
Prep a variety of snacks. Cut up fruit like apples and pears. Make some trail mix with nuts, seeds, and dried fruit.
Hard-boil a few eggs. Portion out yogurt with berries.
Veggies and dip are great too. Carrots, celery, and bell pepper strips with hummus or ranch dip. Make sure the dip is in a separate small container.
For a more substantial snack, consider energy balls. These are usually made with oats, nut butter, and a sweetener. They are easy to make and very filling.
Smart Shopping for Meal Prep
Shopping smart saves you time and money. Make a list based on your weekly meal plan. Stick to your list at the grocery store.
Buy in bulk when you can. Grains, oats, and dried beans are often cheaper in larger quantities. Frozen fruits and vegetables are just as nutritious as fresh.
They are also usually less expensive and last longer.
Consider pre-cut veggies if you are really short on time. They cost a little more. But they can be a good time-saver.
Or get a good set of knives and a big cutting board. Make chopping a fun part of the process.
Don’t forget your spices. A well-stocked spice rack can transform plain ingredients. Salt, pepper, garlic powder, onion powder, and paprika are good starting points.
Food Safety for Meal Prep
Keeping your food safe is crucial. There are a few simple rules to follow.
Cool food quickly: After cooking, let food cool for about an hour at room temperature. Then refrigerate it. Don’t leave cooked food sitting out for too long.
Bacteria grow fast.
Refrigerate promptly: Your refrigerator should be set at 40°F (4°C) or below. Your freezer should be at 0°F (-18°C).
Use clean containers: Wash your containers and lids thoroughly. Make sure they are dry before storing food.
Don’t overstuff your fridge: Air needs to circulate to keep food cold. If your fridge is too full, it won’t work as well.
Know your leftovers: Most cooked leftovers are good in the fridge for 3-4 days. If you’re not sure, it’s better to toss it. When in doubt, throw it out.
Food Safety Quick Guide
Refrigerate within: 2 hours (1 hour if air temp is above 90°F)
Fridge temp: 40°F or below
Leftover life: 3-4 days
When in doubt: Throw it out
When It’s Normal and When to Worry
It’s normal for meal-prepped food to taste a little different from freshly cooked food. Textures might change slightly. Flavors can deepen.
That’s okay! The goal is delicious and safe.
You should worry if your food looks or smells off. If there’s mold. If it has a slimy texture.
Or if it smells sour or rancid. These are signs that the food is spoiled. Do not eat it.
Dispose of it safely.
Also, be mindful of how long you’re keeping food. If you prepped lunch on Sunday, by Friday, it’s pushing the limit for most items. It’s better to prep for 3-4 days at a time if you plan to keep it longer.
Or freeze some portions for later in the week.
Making Meal Prep a Habit
The biggest hurdle is often starting. And then sticking with it. Try to make it a regular part of your routine.
Set aside time on the weekend. Maybe Sunday afternoon. Or Saturday morning.
Put on some music or a podcast. Make it something you can look forward to.
Start small. Don’t try to prep every meal for every day. Prep lunches for 2-3 days first.
See how it goes. Then you can expand.
Involve others if you can. If you live with family or roommates, get them to help. It can be a fun group activity.
Celebrate your successes. Pat yourself on the back when you stick to your plan. When you have a week of great lunches.
It’s a big accomplishment!
My Go-To Lunch: The Lazy Gal’s Bowl
I often get asked what my absolute favorite meal prep lunch is. It’s not fancy. It’s what I call the “Lazy Gal’s Bowl.” It’s super simple.
And it tastes great.
I cook a big batch of quinoa on Sunday. I also roast a big pan of sweet potatoes and broccoli. Then I’ll cook some chicken breast.
I just season it with salt, pepper, and garlic powder. Or sometimes I use a pre-made spice blend.
For the bowl, I layer quinoa, sweet potatoes, and broccoli. Then I add the chicken. I keep a small jar of lemon-tahini dressing separate.
It’s just tahini, lemon juice, water, and a pinch of salt. When I’m ready to eat, I shake the dressing in. It takes me maybe 5 minutes to assemble the meal prep on Sunday.
And then 30 seconds to put it together at lunchtime. It’s easy, healthy, and always satisfying.
Final Thoughts on Loving Your Lunch
Meal prep lunches don’t have to be a burden. They can be a source of joy and good health. By choosing simple recipes.
Using smart techniques. And focusing on flavors you love. You can transform your midday meal.
Start simple. Be patient with yourself. And soon you’ll be looking forward to lunch.