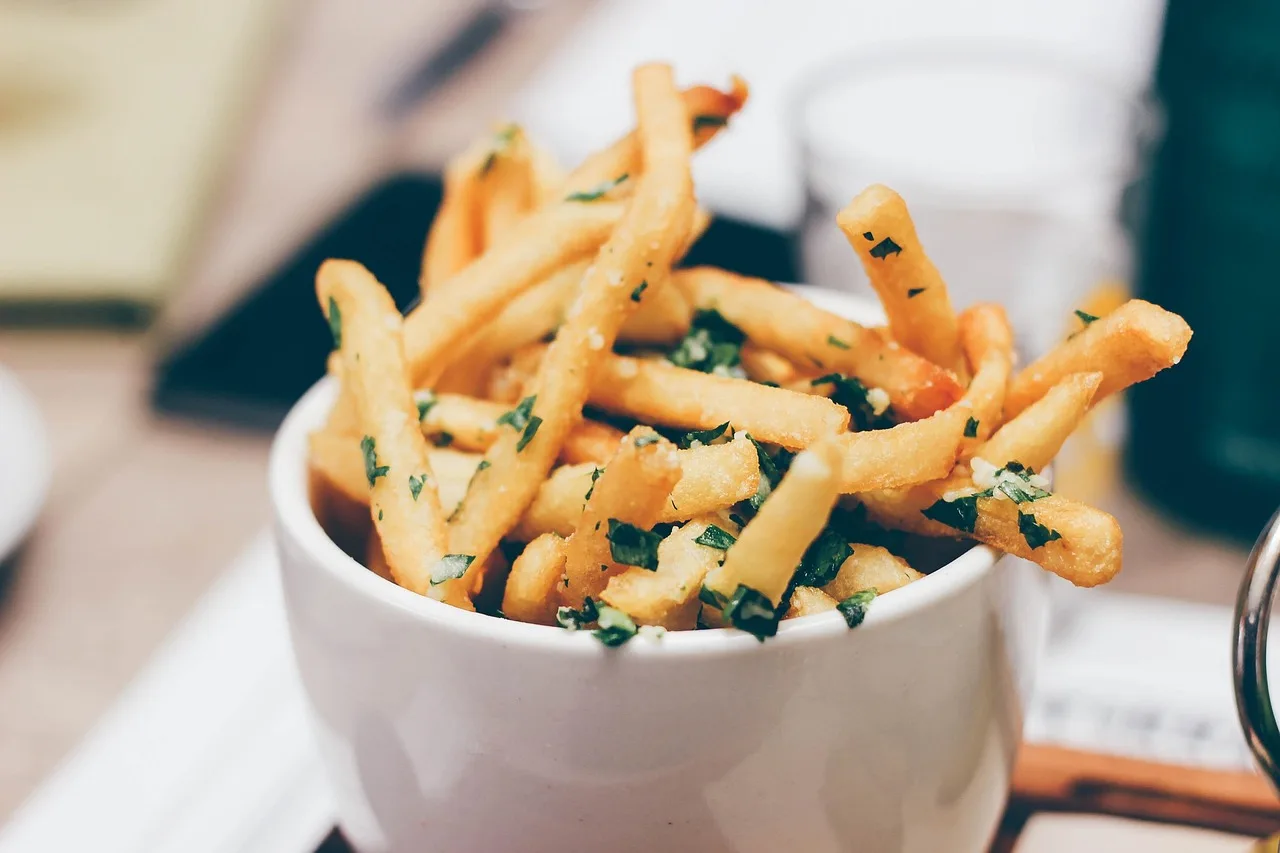
How to Make Crispy French Fries at Home
Cut russet potatoes into 1/4-inch sticks, rinse until the water runs clear, dry them well, then fry twice at 325°F and 375°F; salt immediately after the second fry. Skip those steps and the fries turn limp, greasy, or unevenly browned. This guide covers potato choice, stove, oven, and air-fryer methods, plus troubleshooting for crisp, homemade French fries.
What you will get done in about 45 minutes
You will end with fries that are crisp outside, fluffy inside, and evenly browned. The job is moderate in difficulty because timing, drying, and oil temperature all matter. Deep frying gives the best crunch; oven and air fryer methods can still produce a firm bite, but they stay a step behind.
Use russet potatoes for crisping, as they are commonly reported to have lower moisture and higher starch, which can help the surface dry into a brittle shell. Yukon Gold potatoes can also work well and often crisp without soaking, but waxy potatoes usually stay denser and softer.
- Deep fry: strongest crunch and the fastest route to pale-gold fries with a crisp shell.
- Oven: useful for a drier, lighter fry, but less crackly than oil frying.
- Air fryer: good for a browned exterior, with a more roasted texture than a true fry.
What do you need before you start?
Get the potatoes, oil, and tools lined up before you cut anything. A thermometer matters more than guesswork, because oil that runs too cool leaves greasy fries, while oil that runs too hot browns the outside before the center finishes.
Readiness checklist: potatoes selected, cutting surface cleared, oil chosen, thermometer ready, draining rack set up, and a place to spread cut fries so steam does not trap between them.
Tools and materials
- Russet potatoes, or Yukon Gold if you want a less starchy option
- Neutral high smoke point oil such as canola, vegetable, or peanut oil
- Optional beef tallow for a deeper savory finish
- Heavy pot, Dutch oven, or deep fryer
- Thermometer for oil temperature
- Knife or mandoline slicer for even cuts
- Large bowl for soaking and rinsing
- Wire rack or paper towels for draining
- Fine salt for finishing
Keep the pot no more than about half full of oil. This typically leaves room for bubbling and can help reduce the risk of boil-over. Add fries in batches so the temperature does not crash.
Fries decision checklist
The best path depends on potato type, cut size, and how much time you have. Thin fries crisp fastest. Thick fries need more structure, usually from soaking, blanching, or a two-stage cook. Use this table to match the method to the result you want.
| Choice | Best use | Prep step | Cooking method | Time and effort | Expected crispness | Common failure mode |
|---|---|---|---|---|---|---|
| Russet, 1/8 inch shoestring | Fast, very crisp fries | Rinse, dry, optional soak | Double fry or hot oil fry | Low to moderate | Very crisp, light interior | Burns fast if cut unevenly |
| Russet, 1/4 inch standard cut | Best all-purpose home fry | Soak and dry well | Double fry | Moderate | High crisp, fluffy center | Soggy if oil is crowded |
| Russet, 1/2 inch thick cut | Chunky fries or steak fries | Blanch before frying | Double fry or oven finish | Higher | Good crust, softer center | Dark shell before center cooks |
| Yukon Gold, 1/4 inch | Less starchy fries with good body | Rinse, dry, optional soak | Single or double fry | Moderate | Good, slightly less brittle | Less crisp than russet |
| Any cut, frozen after first fry | Make ahead batches | Freeze after first fry | Finish from frozen | Higher upfront, easier later | Very good | Ice crystals if not sealed well |
Method comparison at a glance
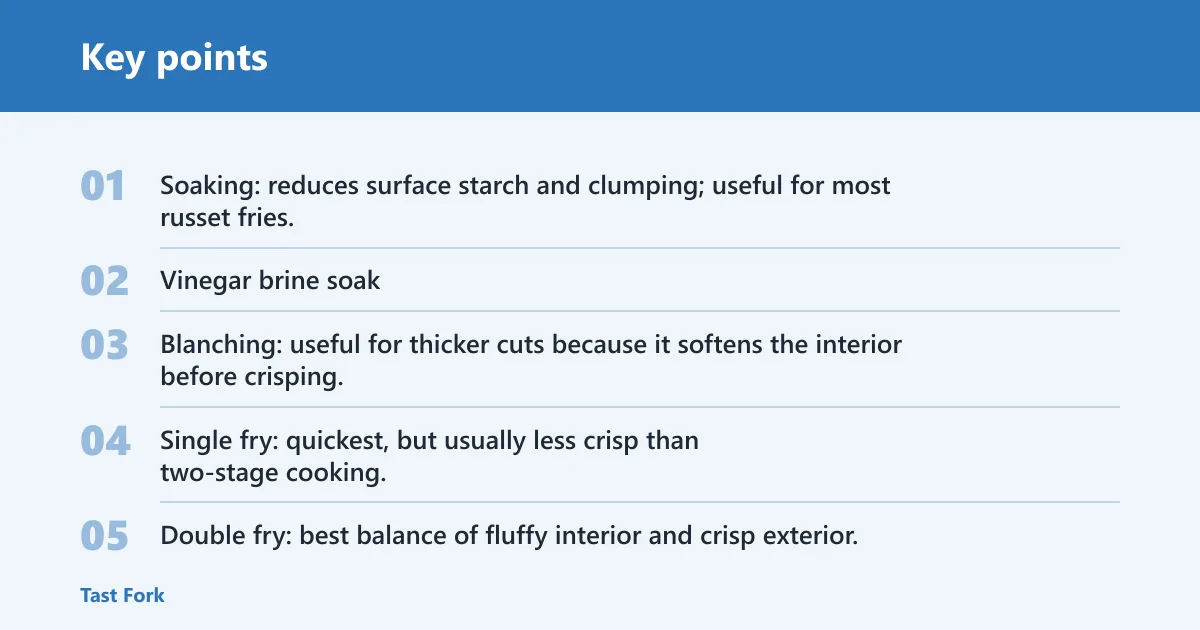
- Soaking: reduces surface starch and clumping; useful for most russet fries.
- Vinegar brine soak: helps pull off excess starch and can improve separation.
- Blanching: useful for thicker cuts because it softens the interior before crisping.
- Single fry: quickest, but usually less crisp than two-stage cooking.
- Double fry: best balance of fluffy interior and crisp exterior.
- Cold oil method: add potatoes to cold oil and heat together; results vary, but it can reduce stickiness.
- Air fryer: crisp enough for a weeknight, not equal to deep frying.
- Oven: best for convenience, with a drier roasted crust.
How do you get the fries to the halfway point?
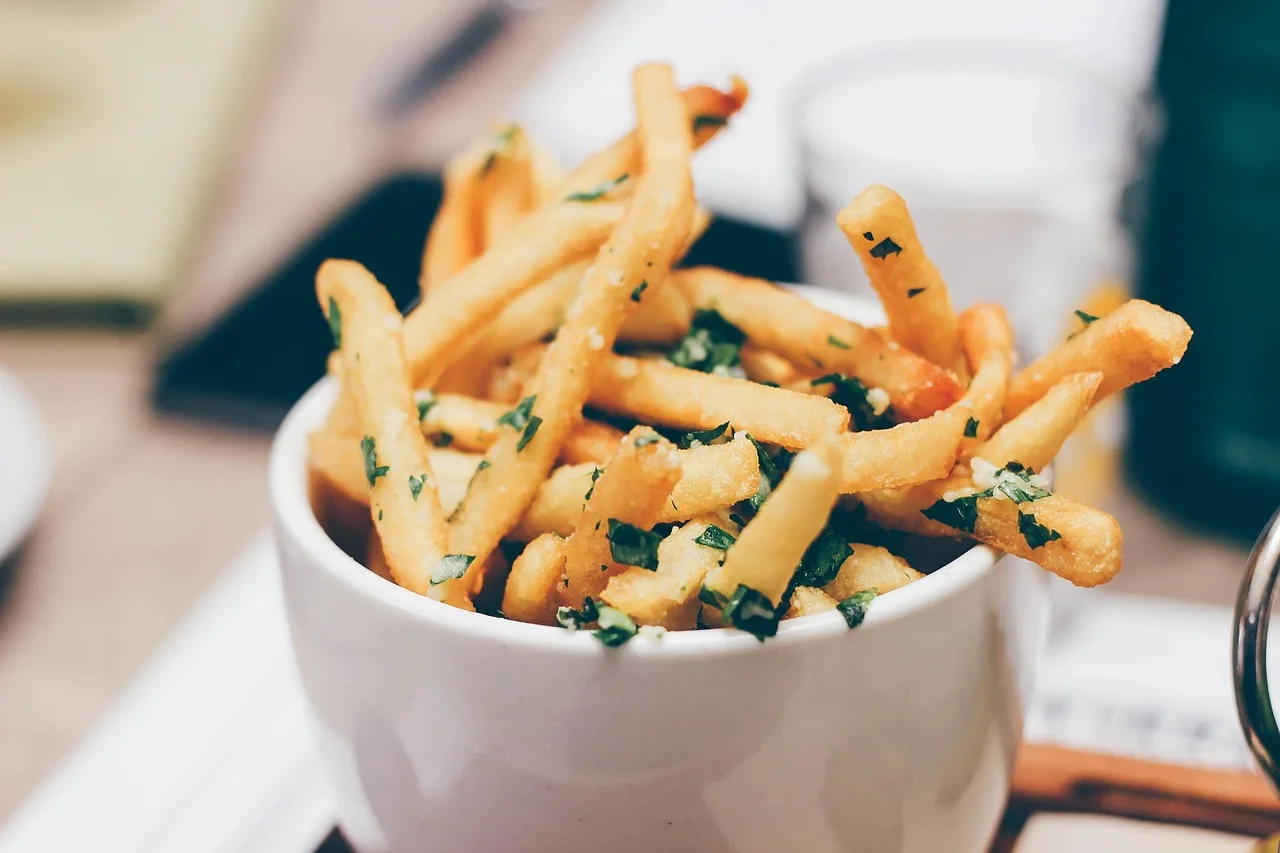
Start by cutting the potatoes evenly, then remove surface starch and dry them completely. That halfway point means the fries are shaped, clean, and ready for their first cook. Uniform thickness matters because thin pieces finish early while thick pieces lag behind and brown unevenly.
- Wash the potatoes and trim the ends.
- Cut them to the same thickness with a knife or mandoline slicer. Expected result: the fries cook at the same rate.
- Rinse or soak them in water until the surface starch loosens. A vinegar and salt brine can help reduce clumping. Expected result: the fries look less cloudy and stick together less.
- Dry them thoroughly on towels or a rack. Expected result: the surface feels dry, not slick.
- Keep the cut fries spread out, not piled up. Expected result: steam escapes instead of softening the surface.
For the first cook, use lower heat for deep frying, or preheat the oven or air fryer if that is your route. Double frying gives a fluffy interior and crisp exterior because the first stage cooks the center without overbrowning the shell.
Say your fries are cut at 1/2 inch. They need a blanching step or a longer first cook, because a single hot fry can brown the outside before the center turns tender.
How do you finish the fries so they turn crisp?
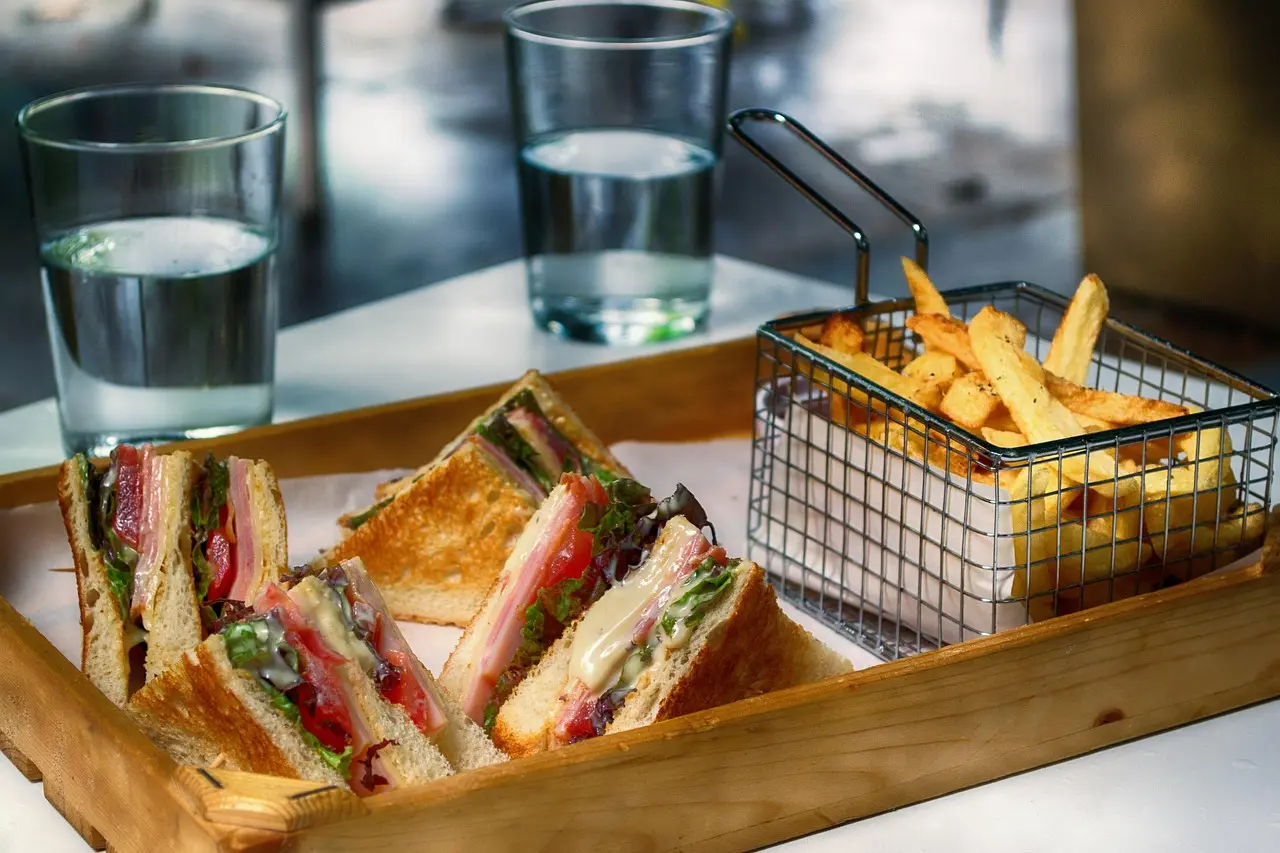
Finish with a hotter second fry, or a final roast if you are using the oven or air fryer. The goal is a dry, blistered surface and a light golden color. If you are freezing par-cooked fries, freeze them after the first fry and finish them from frozen later.
- First fry at 300°F until the fries are soft but not browned. Expected result: the interior is cooked through and the surface looks pale.
- Drain on a rack, not in a heap. Expected result: steam escapes and the fries stay drier.
- If saving for later, freeze after the first fry in a single layer, then store sealed for up to two weeks. Expected result: the fries stay separate and ready for a second fry.
- Second fry at 375°F to 400°F until golden and crisp. Expected result: the surface turns crunchy and evenly colored.
- Salt right away. Expected result: the seasoning sticks while the surface is still hot.
For oven fries, use a hot sheet pan and turn the fries once so both sides dry out. For air fryer fries, shake the basket partway through so the edges brown instead of steaming. Neither method matches deep frying, but both can give a firm, crisp bite.
Oil choice matters here. Canola, vegetable, and peanut oil all work well because they handle high heat cleanly. Beef tallow adds a more savory fry flavor and can help mimic the taste of some fast-food fries when blended with neutral oil.
Suppose a batch is destined for later. Freeze after the first fry, then cook straight from frozen at the second-stage temperature. Thawing first adds surface moisture, which works against crispness.
What if the fries come out soggy or oily?
Soggy fries usually mean surface moisture, overcrowding, or oil that ran too cool. Greasy fries usually mean the same thing plus poor drainage. Pale fries point to low heat or too-short cooking, while patchy browning often comes from uneven cutting or uneven heat.
- Symptom: limp fries. Increase the second fry temperature to 375°F to 400°F and batch them more loosely. Expected result: the crust firms up instead of bending.
- Symptom: greasy fries. Check oil temperature with a thermometer before the next batch and drain fries on a rack. Expected result: less surface oil clings to the fries.
- Symptom: pale or patchy browning. Cut fries evenly and fry in smaller batches. Expected result: the color evens out.
If that did not fix it, move one step more aggressive: dry the raw potatoes longer, then use a soak plus double fry. Drying fries thoroughly before frying prevents sogginess. A common first-timer mistake is piling cut potatoes in a bowl after rinsing; the trapped steam softens the surface before they ever hit the oil.
For a concrete comparison, picture a 1/4-inch russet fry dropped into oil that is too cool. It turns oily and blond. The same cut in properly heated oil browns faster and holds its shape, because the surface water flashes off sooner.
Frequently asked questions
How to make crispy french fries at home in air fryer
Cut the potatoes evenly, coat lightly with oil, and cook in a single layer at the manufacturer’s hottest fry setting, usually around 375°F to 400°F. Shake the basket halfway through. Air fryer fries get crisp at the edges, but they stay less brittle than deep-fried fries.
How to make crispy french fries at home in oven
Use about 1/4-inch cuts, toss with a thin coating of oil, and spread them on a preheated sheet pan. Flip once during baking so both sides can dry and brown. Oven fries are best when you want a dry, roasted crust rather than a true fried shell.
What type of potato is best for crispy fries
Russet potatoes are the best all-around choice because they are starchy and lower in moisture. Yukon Gold also fries well and can crisp without soaking, but waxy potatoes hold more moisture and usually give a softer result. That makes them less suited to very crisp fries.
How to make crispy french fries at home without soaking
Use very dry potatoes, cut them evenly, and fry in small batches so the oil temperature stays steady. Yukon Gold potatoes can work well with this approach. You will still get better results if you rinse first, but careful drying can carry a batch a long way.